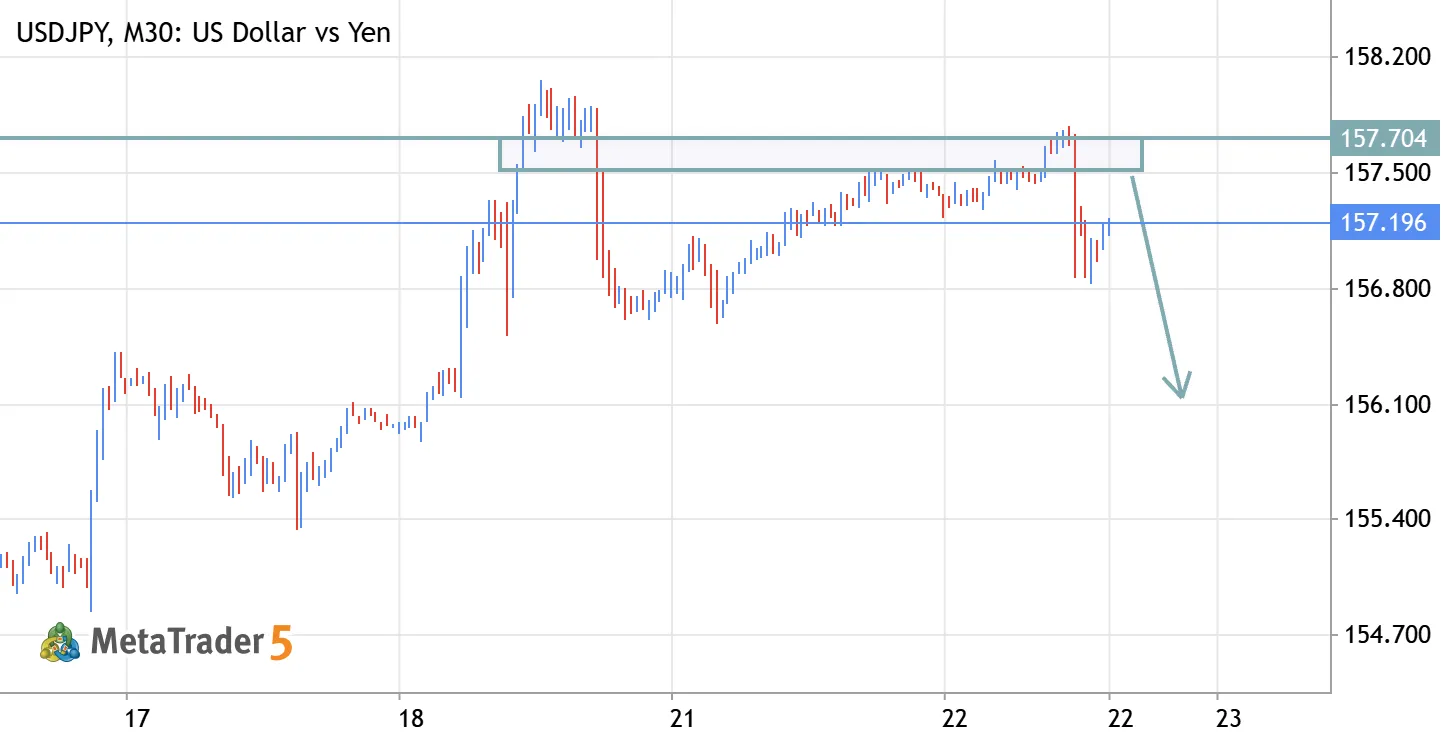
$USDJPY H4 — Recovery Emerges, but Higher-Timeframe Conflict Remains USDJPY US Dollar vs Yen
$USDJPY H4 — Recovery Emerges, but Higher-Timeframe Conflict Remains
USDJPY is showing an important change from yesterday: the short-term H4 condition has recovered, but the broader higher-timeframe conflict remains unresolved. Yesterday’s central question was whether the existing D1/H4 weakness would develop into a broader bearish structural transition while the confirmed weekly upward swing structure remained intact. Today, the evidence has changed at H4. This is not a contradiction of yesterday’s analysis. It is an update based on new market observations. Current Context On the weekly timeframe, the confirmed swing structure remains upward, with the higher-high / higher-low sequence still intact. At the same time, weekly momentum remains weak, with the 5-period moving average declining strongly. The daily picture remains corrective. D1 is still in a Sold
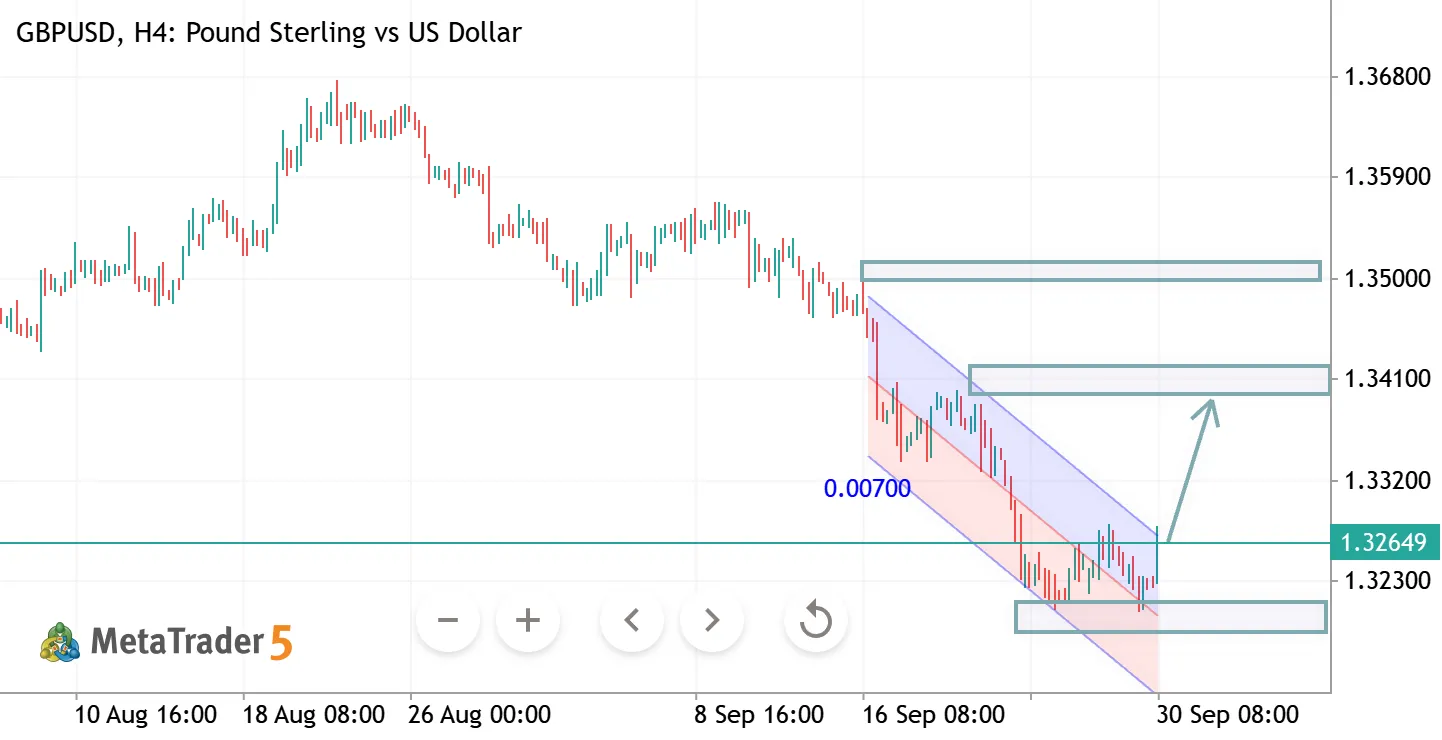
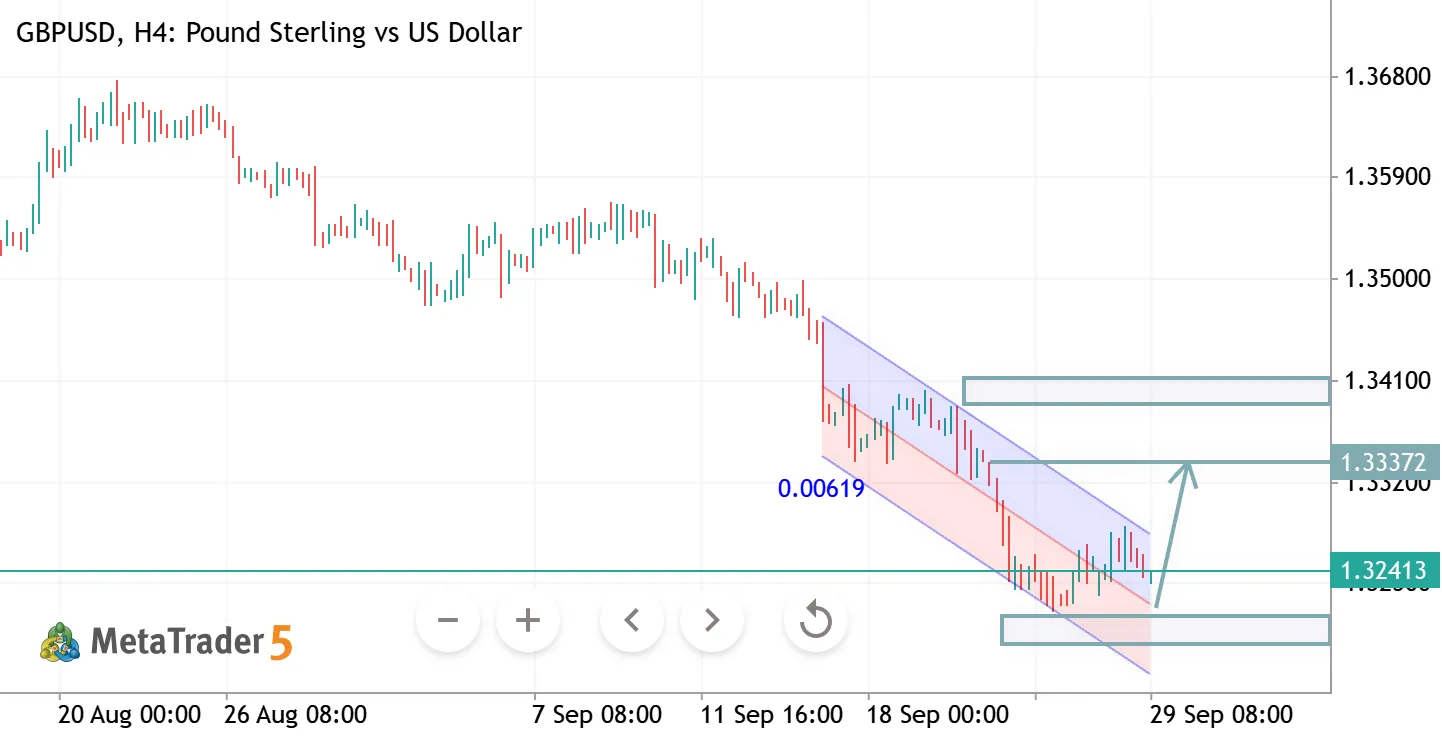
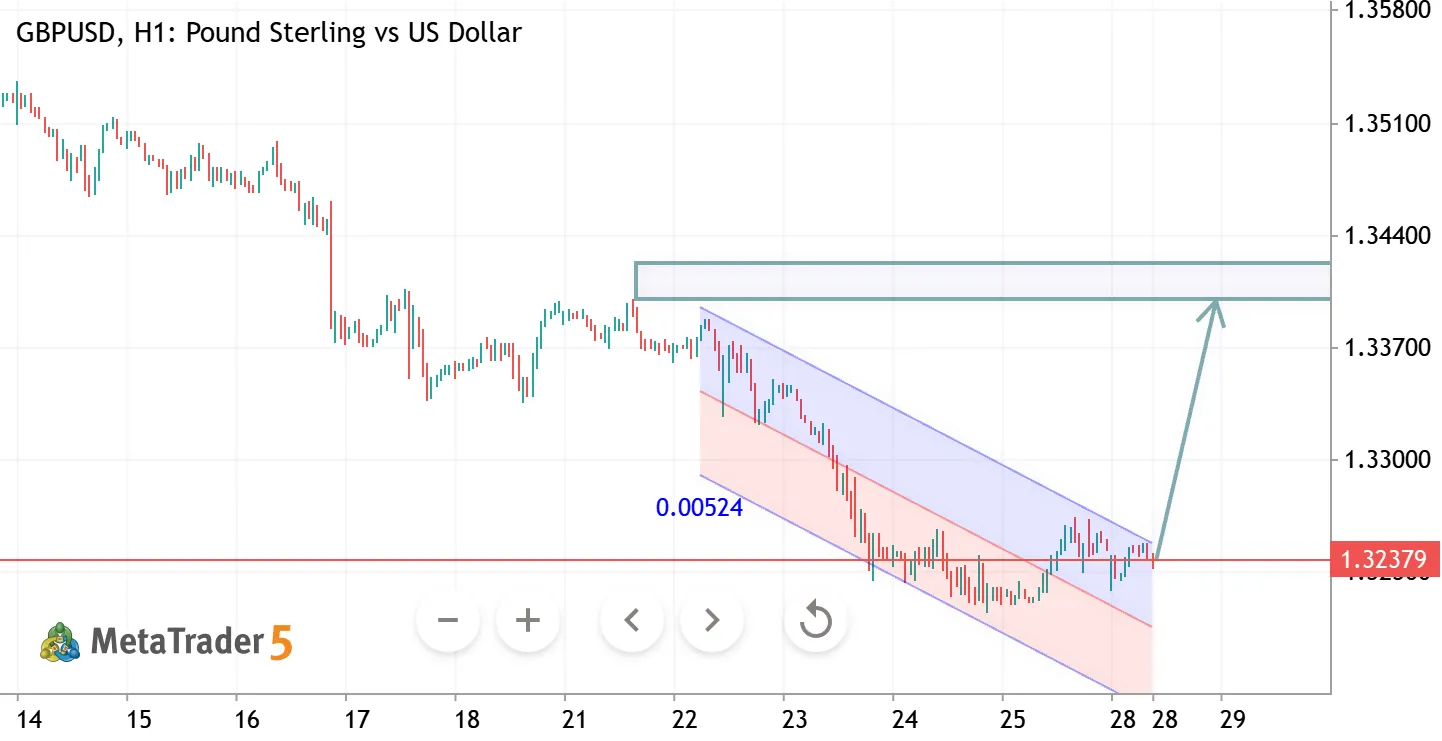
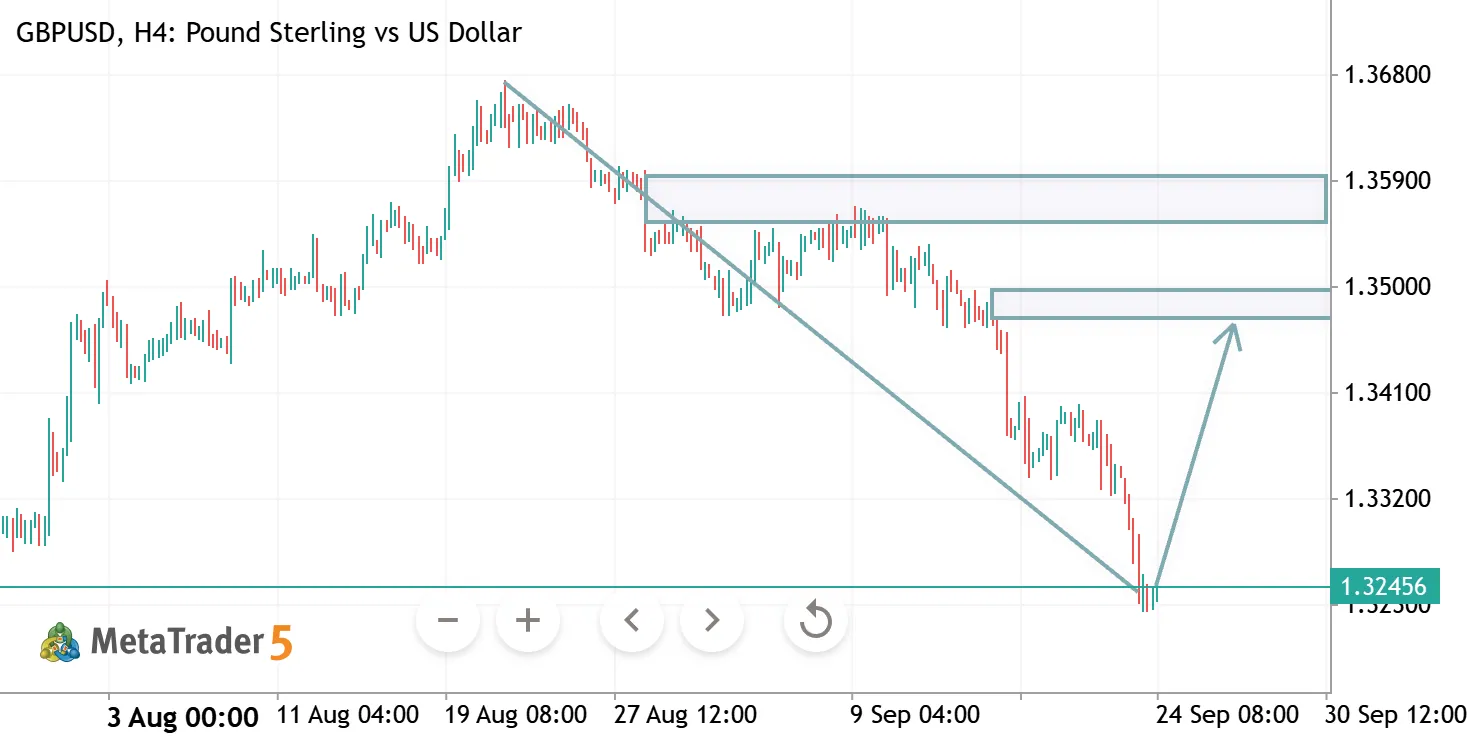
GBPUSD H4 ANALYSIS GBPUSD Pound Sterling vs US Dollar
GBPUSD H4 ANALYSIS
📊 GBP/USD H4 Analysis 📈 Bullish structure — price is moving inside a rising channel and remains near the upper boundary. 🔹 Resistance: 1.3640–1.3680 🔻 Support: 1.3605 → 1.3553 → 1.3474 Outlook: A rejection from the channel top could trigger a pullback toward support. A clean breakout above 1.3680 would strengthen the bullish continuation scenario. ⚠️ Wait for confirmation and manage risk properly.
GBPAUD Sell Setup – Bearish Momentum Shift GBPAUD Short Pound Sterling vs Australian Dollar
GBPAUD Sell Setup – Bearish Momentum Shift
🔴 GBP/AUD Sell Signal Entry: 1.91380 – 1.91510 Stop Loss: 1.91720 🎯 Targets: TP1: 1.91110 TP2: 1.90700 📉 GBP/AUD is approaching a key resistance zone between 1.91380–1.91510, presenting a potential selling setup. If price remains below this area and bearish momentum strengthens, the pair could move toward 1.91110, followed by the extended target at 1.90700. Consider securing partial profits at TP1 and allowing the remaining position to run toward TP2 while managing risk according to your trading plan. Risk Disclaimer: Forex trading involves substantial risk. Always use proper risk management and never risk more than you can afford to lose.
$USDJPY H4 — Bearish Pressure vs. Intact Weekly Structure USDJPY US Dollar vs Yen
$USDJPY H4 — Bearish Pressure vs. Intact Weekly Structure
USDJPY is currently showing a clear conflict between short-term bearish pressure and a still-intact higher-timeframe structure. Context On the weekly timeframe, the confirmed swing structure remains upward, with a higher-high / higher-low sequence still intact. However, weekly momentum has weakened, with price below the falling 5-period moving average. The daily picture is more bearish. Price is below the 5-, 20- and 75-period moving averages, while the 5-period average is falling strongly. The daily environment is therefore under meaningful selling pressure, although the broader weekly structure has not yet confirmed a bearish transition. H4 Structure The H4 chart reinforces the shorter-term bearish picture. The 5-period moving average is declining strongly, and price has been accepted
GBP/CHF Sell Setup – Bearish GBPCHF Pound Sterling vs Swiss Franc
GBP/CHF Sell Setup – Bearish
🔴 GBPCHF Sell Signal Entry: 1.09890 – 1.09985 Stop Loss: 1.10160 🎯 Targets: TP1: 1.09640 TP2: 1.09410 📉 GBP/CHF is approaching a potential resistance zone, presenting a possible selling opportunity. If price rejects the 1.09870–1.09985 zone and bearish momentum develops, the pair could move toward 1.09640, followed by the extended target at 1.09410. Consider securing partial profits at TP1 and allowing the remaining position to run toward TP2 while managing risk according to your trading plan. Risk Disclaimer: Forex trading involves substantial risk. Always use proper risk management and never risk more than you can afford to lose.
GBP/NZD Sell Setup – Bearish Rejection Zone GBPNZD Short Pound Sterling vs New Zealand Dollar
GBP/NZD Sell Setup – Bearish Rejection Zone
🔴 GBP/NZD Sell Signal Sell Zone: 2.30255 – 2.30470 Stop Loss: 2.30820 🎯 Targets: TP1: 2.29840 TP2: 2.29430 📉 GBP/NZD is approaching a potential resistance zone, presenting a possible selling opportunity. If price rejects the 2.30255–2.30470 zone and bearish momentum develops, the pair could move toward 2.29840, followed by the extended target at 2.29430. Consider securing partial profits at TP1 and allowing the remaining position to run toward TP2 while managing risk according to your trading plan. Risk Disclaimer: Forex trading involves substantial risk. Always use proper risk management and never risk more than you can afford to lose.
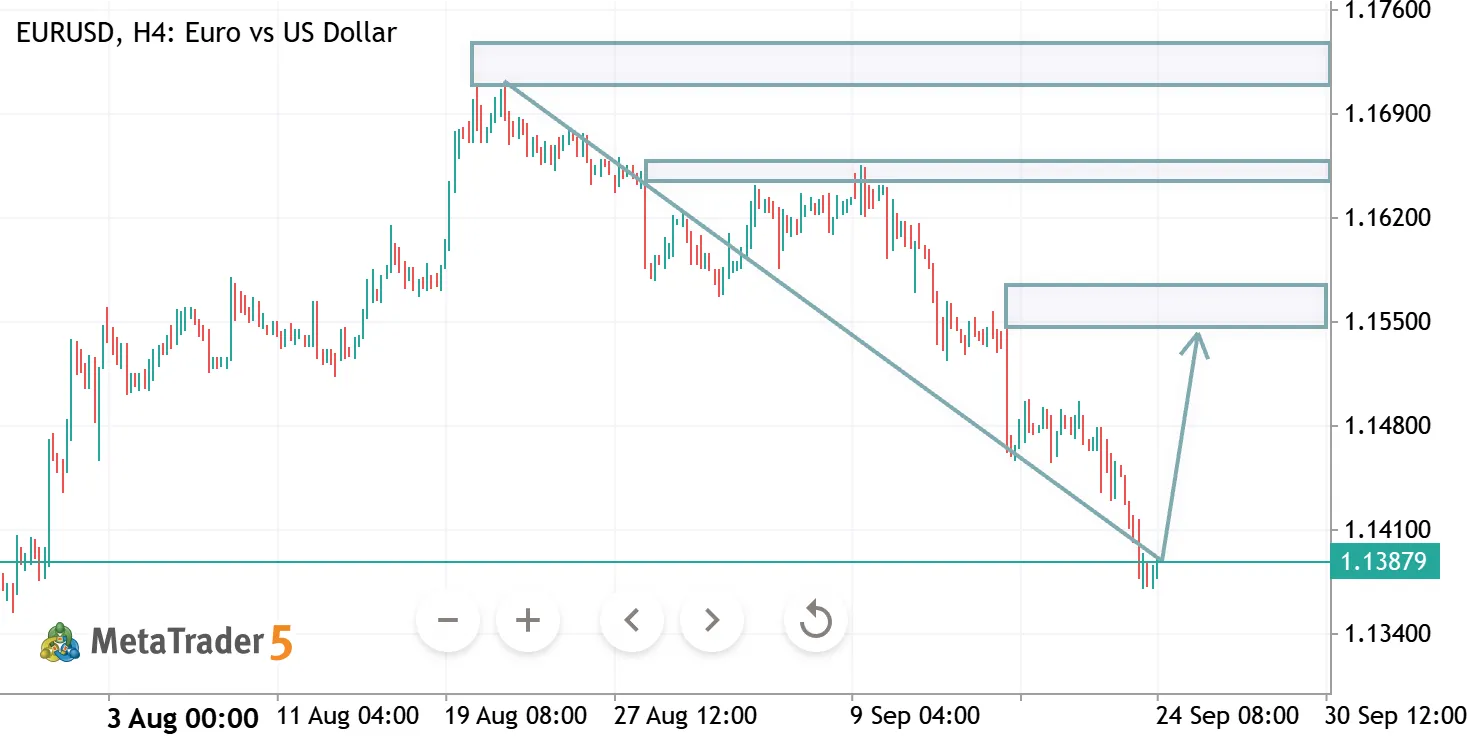
EURUSD H4 — Bullish Breakout Retest Toward 1.1710 EURUSD Euro vs US Dollar
EURUSD H4 — Bullish Breakout Retest Toward 1.1710
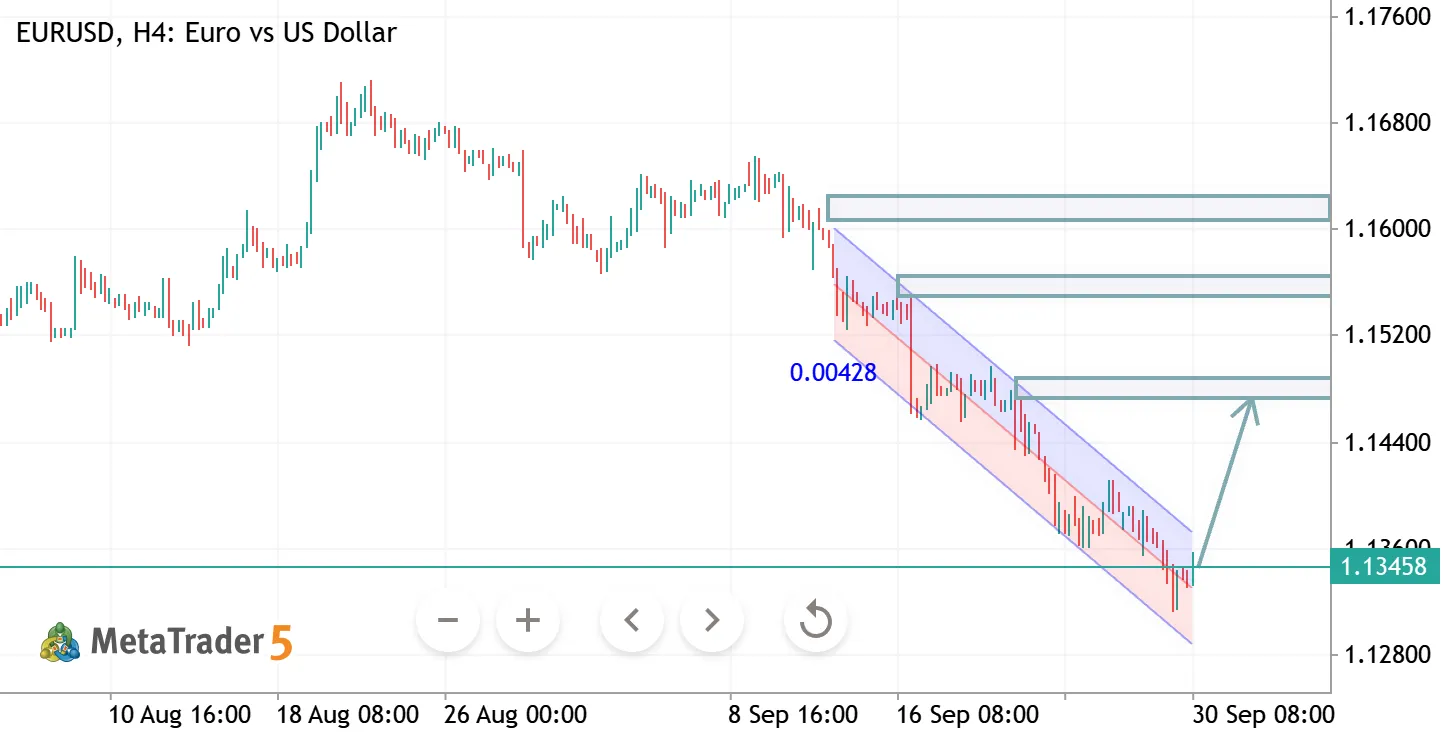
EURUSD has broken above the 1.1578–1.1585 resistance zone , reaching 1.1614 before pulling back. The short-term structure remains bullish, with price trading above both the 20-day and 50-day moving averages. Because momentum is already elevated, I would avoid chasing the breakout. The preferred setup is to wait for former resistance to act as support. 🟢 Bias: Bullish ⏱ Timeframe: H4 📍 Entry zone: 1.1570–1.1580, after bullish rejection or an H4 close holding above the zone 🛑 Stop loss: 1.1510 🎯 Take profit 1: 1.1660 🎯 Take profit 2: 1.1710 At an average 1.1575 entry, the approximate reward-to-risk is 1.3R to TP1 and 2.1R to TP2 . Rationale: The 1.1578–1.1585 area capped price several times before the breakout. A successful retest would turn that resistance into support. The next
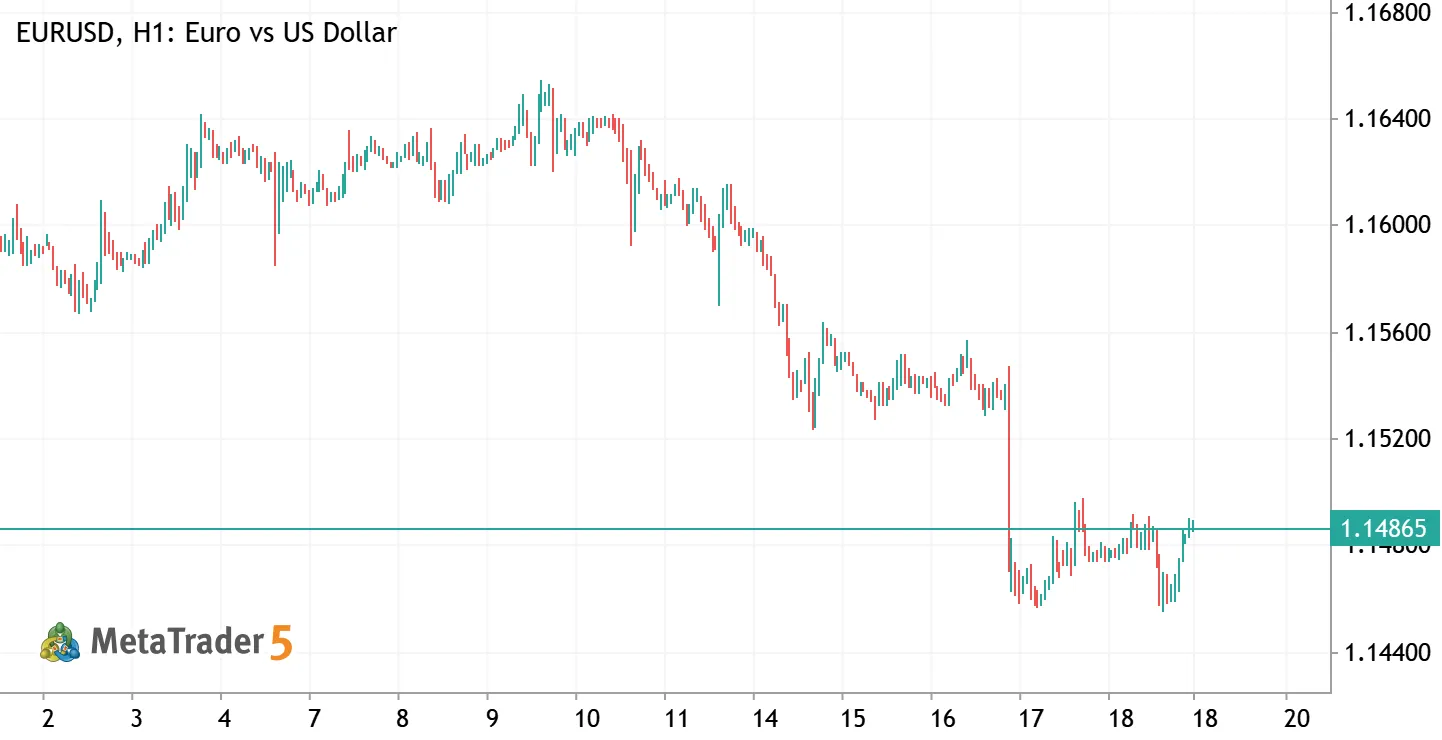
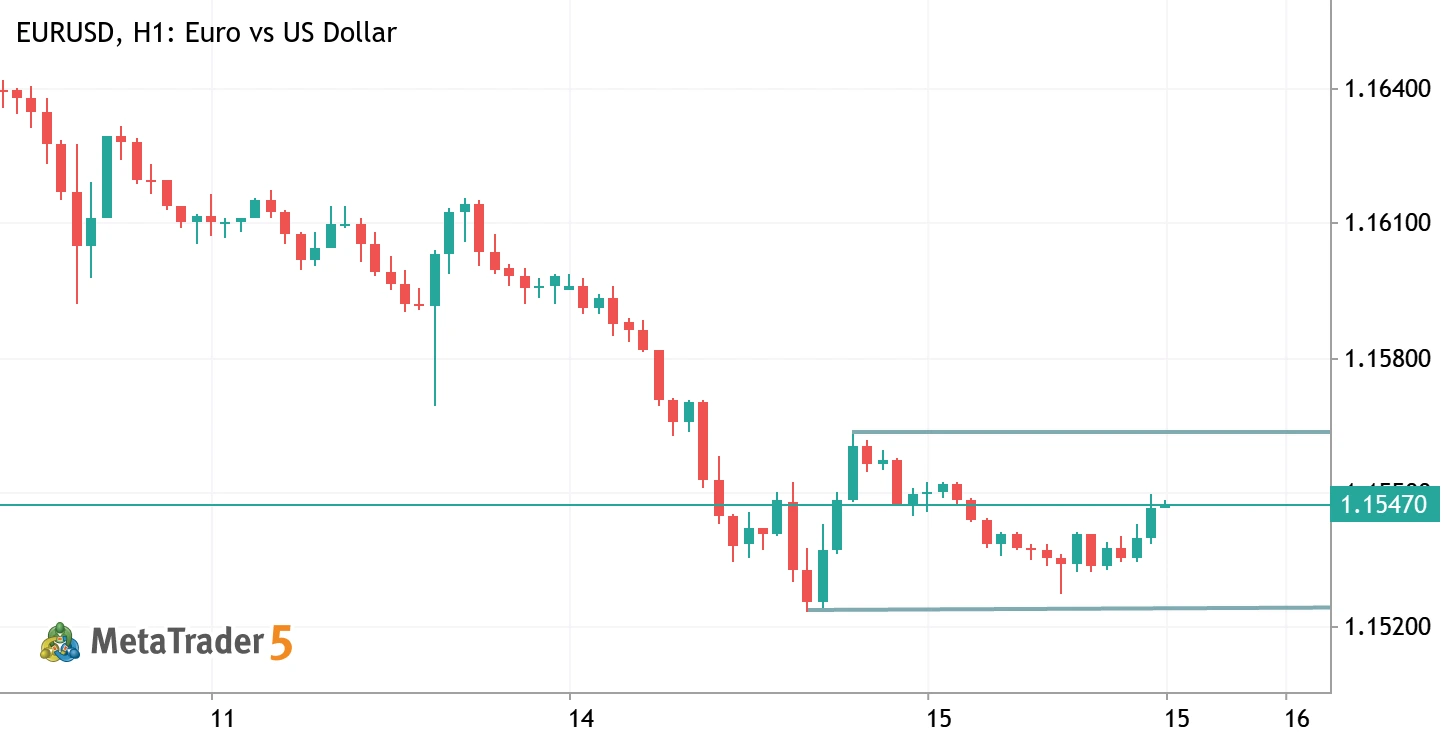
EURUSD H4 ANALYSIS EURUSD Euro vs US Dollar
EURUSD H4 ANALYSIS
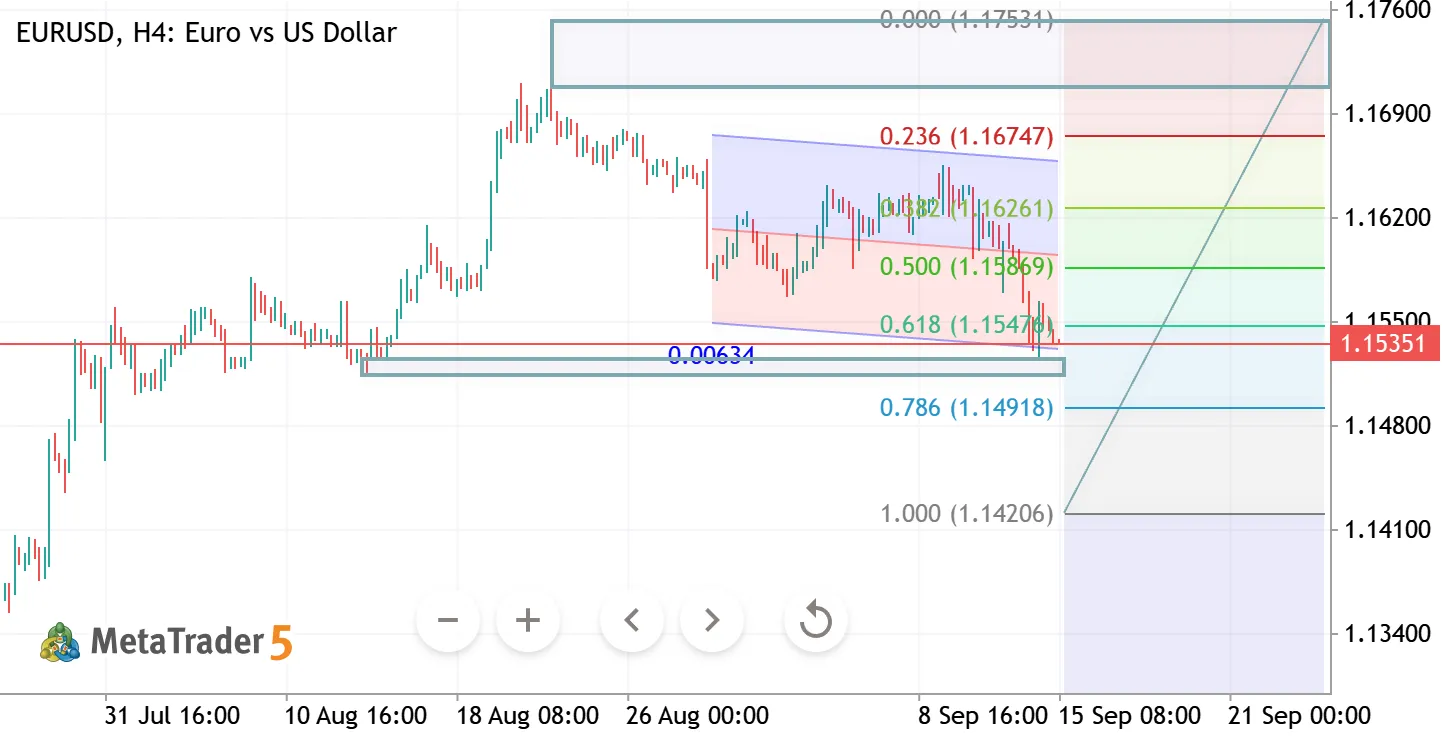
📊 EURUSD H4 – Technical Analysis Bias: Bullish 📈 EURUSD is consolidating above the 1.1500 support area after a strong upward move. The chart shows potential for another push higher if resistance is broken. 🔹 Support: 1.1500–1.1520 🔹 Resistance: 1.1560–1.1580 🔹 Bullish Scenario: A confirmed breakout above 1.1580 could open the way toward higher levels. 🔹 Risk: A break below 1.1500 may trigger a deeper pullback toward 1.1440. Plan: Wait for confirmation and manage risk carefully. ⚠️ Educational analysis only — not financial advice.
GBP/CHF Sell Setup – Bearish Reversal GBPAUD Short Pound Sterling vs Australian Dollar
GBP/CHF Sell Setup – Bearish Reversal
🔴 GBP/AUD Sell Signal Sell Zone: 1.91438 – 1.91592 Stop Loss: 1.91860 🎯 Targets: TP1: 1.91140 TP2: 1.90720 📉 GBP/CHF is approaching a potential resistance zone, presenting a possible selling opportunity. If price rejects the 1.91438–1.91592 zone and bearish momentum develops, the pair could move toward 1.91140, followed by the extended target at 1.90720. Consider securing partial profits at TP1 and allowing the remaining position to run toward TP2 while managing your risk according to your trading plan. Risk Disclaimer: Forex trading involves substantial risk. Always use proper risk management and never risk more than you can afford to lose.
GBP/CHF Sell Setup – Bearish Reversal GBPCHF Pound Sterling vs Swiss Franc
GBP/CHF Sell Setup – Bearish Reversal
🔴 GBP/CHF Sell Signal Sell Zone: 1.09757 – 1.09829 Stop Loss: 1.10000 🎯 Targets: TP1: 1.09564 TP2: 1.09330 📉 GBP/CHF is approaching a potential resistance zone, presenting a possible selling opportunity. If price rejects the 1.09757–1.09829 zone and bearish momentum develops, the pair could move toward 1.09564, followed by the extended target at 1.09330. Consider securing partial profits at TP1 and allowing the remaining position to run toward TP2 while managing your risk according to your trading plan. Risk Disclaimer: Forex trading involves substantial risk. Always use proper risk management and never risk more than you can afford to lose.
EUR/JPY Sell Setup – Bearish Reversal EURJPY Short Euro vs Yen
EUR/JPY Sell Setup – Bearish Reversal
🔴 EUR/JPY Sell Signal Sell Zone: 183.850 – 184.270 Stop Loss: 184.800 🎯 Targets: TP1: 182.000 TP2: 182.000 📉 EUR/JPY is approaching a potential resistance zone, presenting a possible swing selling opportunity. If price rejects the 183.850–184.270 zone and bearish momentum develops, the pair could move toward the 182.000 target. Note: You provided the same level (182.000) for both TP1 and TP2, so I’ve kept it exactly as given. Risk Disclaimer: Forex trading involves substantial risk. Always use proper risk management and never risk more than you can afford to lose.
AUD/USD Sell Setup – Bearish Reversal AUDUSD Short Australian Dollar vs US Dollar
AUD/USD Sell Setup – Bearish Reversal
🔴 AUD/USD Sell Signal Entry Zone: 0.70530 – 0.70413 Stop Loss: 0.70800 🎯 Targets: TP1: 0.70413 TP2: 0.70200 📉 AUD/USD is approaching a potential resistance area, presenting a possible selling opportunity. If price rejects the entry zone and bearish momentum develops, the pair could move toward 0.70413, followed by the extended target at 0.70200. Consider securing partial profits at TP1 and allowing the remaining position to run toward TP2 while managing your risk according to your trading plan. Risk Disclaimer: Forex trading involves substantial risk. Always use proper risk management and never risk more than you can afford to lose.